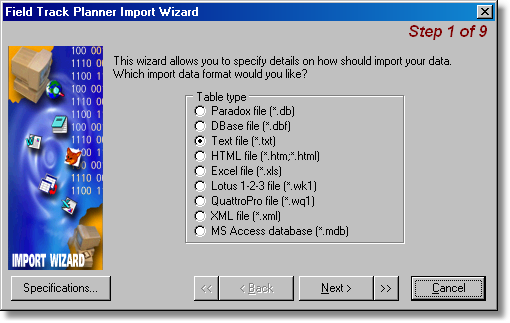
Select the type of file you want to import.
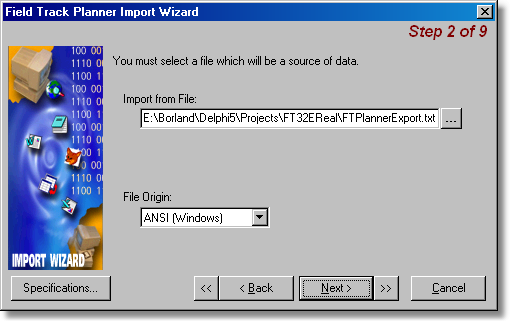
Select the file to import.

Configure delimiters of the records in the import file. This window will only display if the file type requires further configuration; e.g., csv and text files.

Configure key elements of how the import file is read. The default values will usually be suffice, however you may need to alter the "First row" read, as you do not require to read the header row in a csv file, for example.
Link the import 'fields' to the database. Select the column header to select the database field the import column relates to.
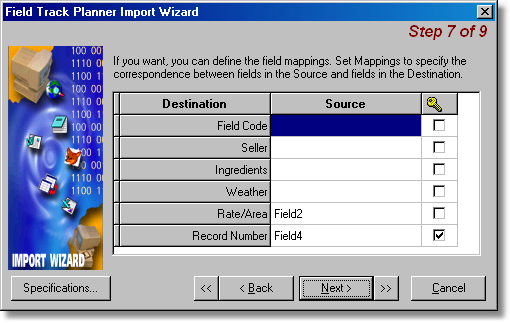
You can re-check your selections here, as well as make one of the field's be used as a key field to match the right record with the right entry. This is important should you use the "Direct" import method in the Planner.
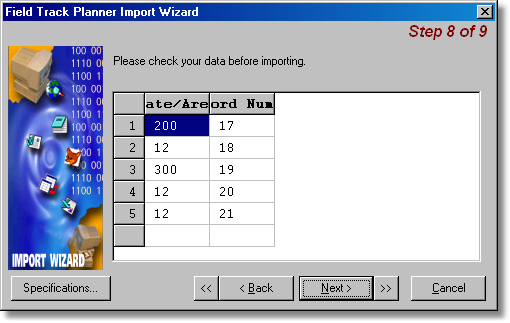
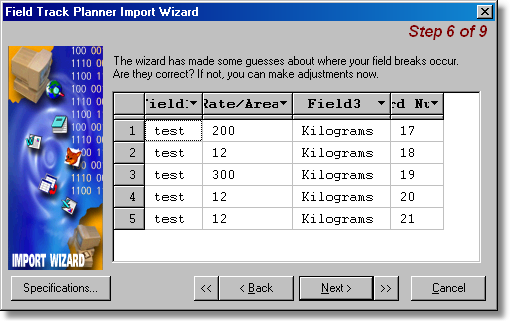
Last chance to check your data is going to be imported correctly.
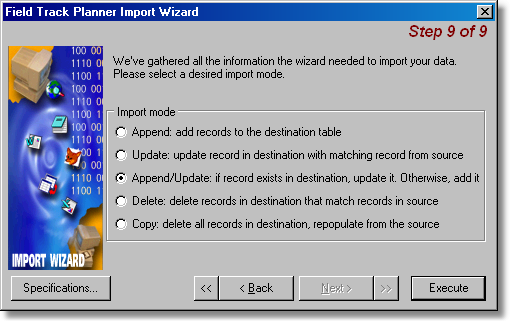
Before you complete the import, use the "Specifications" button to save your configuration to disk for easy access and loading the next time you wish to use the same settings. Pressing "Execute" will import the file into your Planner database. No checks are made, so be sure to create a full export file and save it to your hard disk, so you can reload your Planner entries should the import not function as expected.